Dlinkap.Local WiFi Setup And Login Process
D-Link routers and extenders that can be used anywhere like at your home or at business places.
Dlinkap.Local
To setup the D-Link wireless extenders you will be needing a web interface where you can comprehend the setup and can configure it for later settings. Dlinkap.local is the default name that is used for accessing the setup of Dlink extenders through a web interface, there is a thing to note that it will only be accessible within your local network. With the help of these web addresses Https//Dlinkap.Local or simply Http Dlinkap.Local you can access the interface for setup.
Guidelines For D-Link Extender Login via Dlinkap.local
- The primary step is to join your device with the wireless network of Dlinkap.Local. If you don’t know its SSID details then you can see it on the device itself or in the manual.
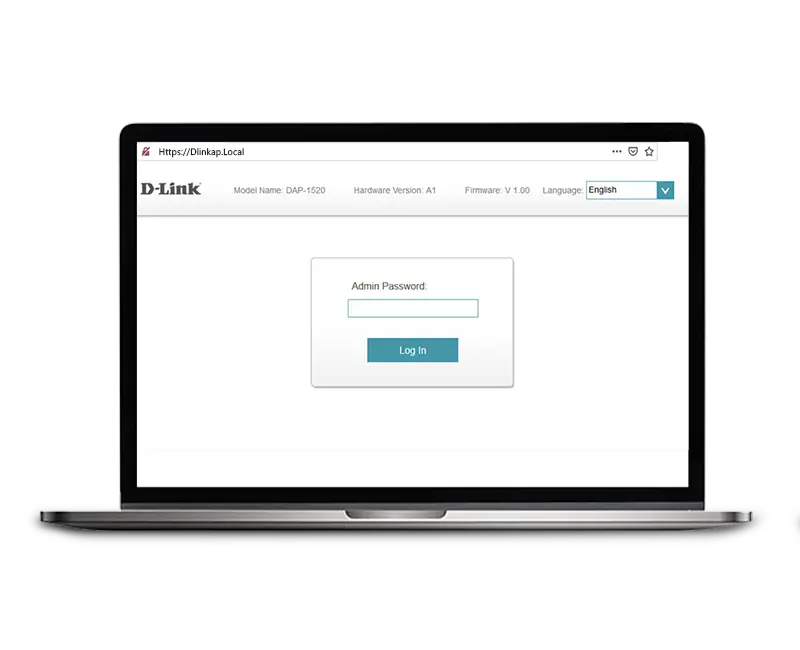
- Launch the web browser of your device and put in the Http Dlinkap.Local or Dlinkap.Local. You can use its IP address that you can find on the device or in the manual book. You can also use this 192.168.0.50, continue the process with pressing an enter button.
- On the login page enter the login specifics. You can use default ones for the first time. Later don’t forget to change them. You can also login through only entering the username.
- Comprehend the sign in progression by clacking on the login key, before that authenticate your credentials.
- Now you can access the setting and alter them according to your needs.
Steps For D-Link Extender Login
- Validate the D-Link extender’s network is accessible from your computer or other device.
- To accomplish this, join a Wi-Fi network using the network (SSID) that matches to your D-Link extender.
- Unveil web browser and put Dlinkap local
- Or Enter the D-Link device’s provided IP address
- One of the two most common IP addresses by provided is 192.168.0.1 or 192.168.1.1.
- Typically, the provided credentials are:
- Login as admin
- Password: admin, or enter nothing.
- The correct login information for your D-Link extender can be found in the user handbook if the provided credentials aren’t working for you.
- You ought to be able to view the extender’s settings and configuration options after properly logging in.
D-Link Extender Installation Process
- Switch on your Dlink extender after linking it to power outlet. Now through your device to connect to same network as Dlink extender.
- Launch the browser of your choice to enter the Https //Dlinkap.Local, Dlinkap.Local for Dlinkap Local Login. Otherwise you can use the IP address 192.168.0.50 to access the login page of Dlinkap local. (though IP addresses can be varied according to your specific D-Link model)
- Use the default specifics of login to comprehend the login process. If you are first time user then must use the default ones. If you are not then you must have changed then. You can change them during the preliminary setup as well.
- After the successful login you will get the access for Dlinkap local settings. You can also change them as you require them to be.
Common Issue For D-Link Extender Login
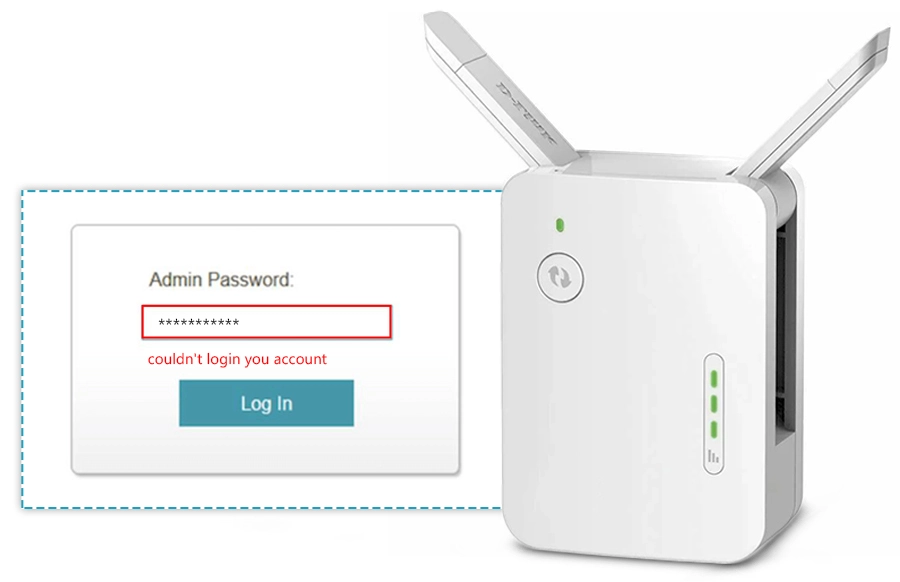
- Incorrect Credentials
- IP Address Issues
- Connection Problems
- Resetting to Provided
- Browser Compatibility
- Firmware or Software Updates
- Network Configuration Conflicts
- Firewall or Antivirus Interference
How To Troubleshoot D-Link Extender Issues?
- Make that the extension is switched on and linked to a reliable power source.
- Validate the extender’s connections to your modem or router are secure.
- Examine the Wi-Fi configuration on your gadget.
- Try turning the extender off and then keep it awake.
- Validate the extension is positioned to take full advantage of Wi-Fi coverage.
- Steer clear of interference and barriers.
- Visit the official dlink wifi extender login website to see whether your D-Link extender has any firmware upgrades.
- Issues with performance may arise from outdated firmware.
- Rearranging the extender to its provided settings can be an option if you are still having issues.
- Reconfigure the gadget by pressing the reset button on it.
- Make that the dlink wifi extender login is compatible with your router.
- For details on compatibility, visit D-Link’s website or the user manual for the extender.
- if your computer’s firewall or antivirus programme is interfering, temporarily disable it.
- Authenticate that your system is unrestricted of IP address skirmishes.
- Make that the IP address of the extender is distinct.
Steps To Change The D-Link Extender WiFi Password.
The procedures below can be used to modify the WiFi password on your D-Link extender:
- Connect to Extender: Verify that your device is either wirelessly or through an Ethernet connection connected to the D-Link extender’s network.
- Web interface for Access: The extender’s default IP address, which is typically http://192.168.0.1 or http://dlinkap.local, should be entered into the address bar of an open web browser. Hit the Enter key.
- Sign in: A popup to enter the password and username will appear. Use the default credentials, unless you have previously modified them.
- Navigate to setup section: This may be referred to as “Wireless Setup,” “Wireless Settings,” or something similar.
- Changing WiFi Password: Look for the WiFi password changing option. This can be referred to as “Security Settings,” “Wireless Security,” or any similar term. After choosing the suitable security level (WPA2 is advised), fill in the new password you want to use.
- Apply Changes: Click to save or apply the modifications after inputting the new password. To implement the changed settings, the extender probably has to reboot.
- Reconnect Devices: After the extender has rebooted, use the new password to connect your devices to the WiFi network again.
- Verification: Try involving a device with the new keyword
Note: You may improve the security of your network by effectively changing the WiFi password on your D-Link extender by following these instructions.
How To Reset D-Link Extender?
Find the reset button on the D-Link extender—usually a little hole with the word “Reset” on it—to reset the device. Press and hold the button for approximately ten seconds while inserting a paperclip or other comparable item. The LED indications will blink to show that the reset has been completed. The extender will return to its original manufacturing configuration. Keep in mind that doing this will remove all personalised settings, so thereafter adjust the extender as necessary.
There are two ways to reset a D-Link extender: soft resets and hard resets. This is how to carry out both:
Soft Reset:
- You need to find the D-Link extender’s reset button.
- After the power LED begins to blink, release the reset button. This means that the reset procedure has started.
- Give the extender some time to restart. When the procedure is finished, the power LED ought to stabilise.
- After the reset is complete, adjust the extender’s settings as necessary.
Hard Reset:
- To find and hit the reset button, follow steps 1 and 2 in the soft reset instructions.
- Hold the reset button.
- The power LED may blink quickly during this period, signalling that the hard reset procedure is underway.
- This will set the D-Link extender back to the factory default configuration.
- Await the reboot of the extender. The hard reset is finished when the power LED stabilises.
- All of your prior setups will have been lost, so start over when configuring the extender parameters.
- Make sure you have all required login information and configuration settings on hand in case you need to reset the extender again after doing a soft or hard reset.
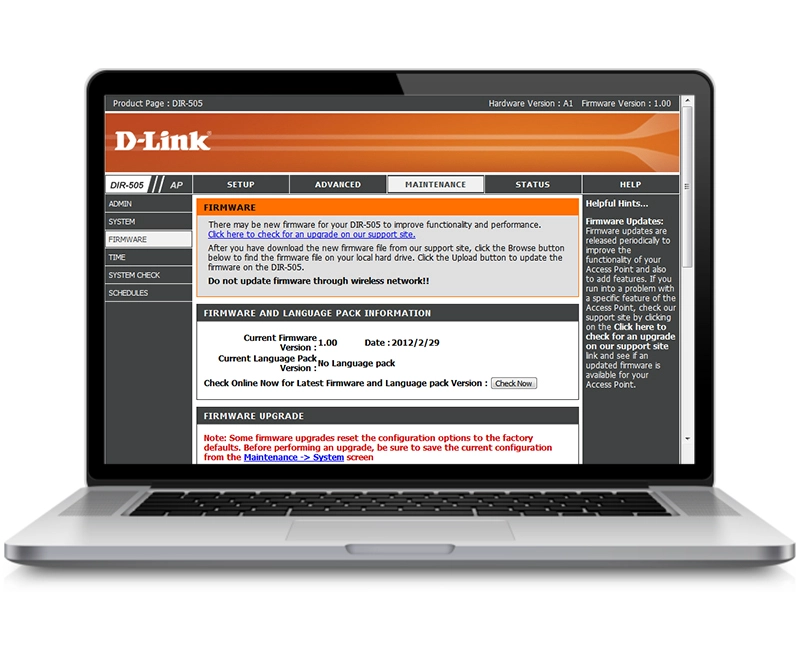
d-link extender firmware update
- Link your device to the D-Link extender’s network
- Open a browser and pass in the provided IP address in the search field.
- Log in to the extender’s settings using the provided credentials (username: admin, password: admin, or check your manual for specifics).
- Transfer the up-to-the-minute firmware from the website.
- Upload the firmware file through the extender’s interface.
- Allow the extender to reboot
- Verify the successful firmware update in the extender’s settings.

Why is my Dlink extender not connecting to Wi-Fi?
If you are facing trouble to connect Dlinkap local extender to wifi then use these tips:
- Check your router’s wifi signal and quality and also check that both router and extender are in prescribed range.
- Check the wifi details that you had entered earlier whether they correct or not.
- Restart the both devices by cutting them from the power source. Pause for few moments and plug them back in the power outlet.
- You don’t need to press any button. After attach them again to the power source. It will be restarted automatically.
- Check if any electrical device is creating disturbance between their linking. Also check for another object that are creating hindrance for the connection.
- Verify the firmware update if it is then update it with the latest version to resolve this issue.